Some point of time, you just planned to purchase and own a Raspberry Pi, which is a small computer that specializes for robotics projects or learn the fundamentals of programming by the young or newbie. Having one is a piece of pie, I mean cake, as it costs around any cheapest budget smartphone that could exist today.
But to set it up, you need to use it as a computer and plug typical devices to it, in this instant, a keyboard IS necessary. But NO. You will be glad that even just the mouse could help you control options to set up the RPi (short convention for Raspberry Pi).
To begin, you need to prepare the following utilities:
- Monitor/TV (HDMI supported)
- HDMI cable (Standard or Type A at both points) which can be bought around $1 or ₱100 in the Philippines
- Mouse (USB type)
- Raspberry Pi 3 with power adapter
- SD Card for RPi
- Laptop
Shall we begin the RPi setup…
1. Install Raspbian OS in the RPi
For this setup, download the latest NOOBS in here. Further instructions on how to setup NOOBS in the SD card are also included there. NOOBS is an easy installation interface for any operating system you may wish applicable to the RPi. But for this tutorial, you will need the Raspbian OS which is the main OS for the Raspberry Pi models. |
| Screenshot from Raspberry Pi Downloads |
You’ll see a window for installing availed OSes from NOOBS. Now then, choose Raspbian OS by just left clicking it. Then click Install. The installation is shown with the progress bar and sliding tips to use your time while waiting. This would take around 25 minutes.
 |
| Image from DomoticX Knowledge Center |
You see that next setups are involved in graphical interface and not necessary with keyboard input.
2. Connect RPi with your laptop
As the installation is finished, the system will reboot and finally get you to the Raspbian desktop interface. As you see, it’s not enough if you to just directly use a mouse to wonder into RPi. So you will use RPi indirectly by remote connection with the laptop.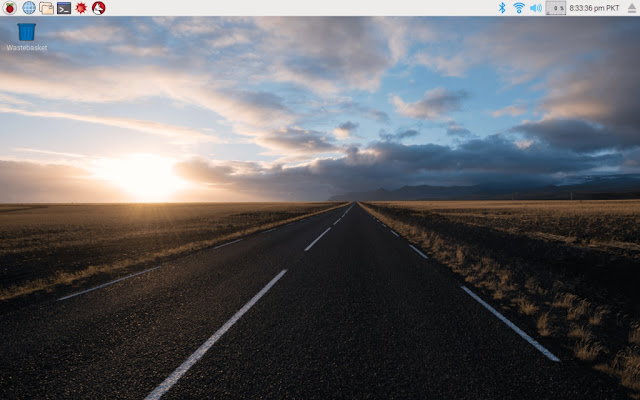


Now on your laptop, download VNC Viewer here. Install it and run. This is the client version to see and control RPi software from your laptop with its own keyboard and mouse.

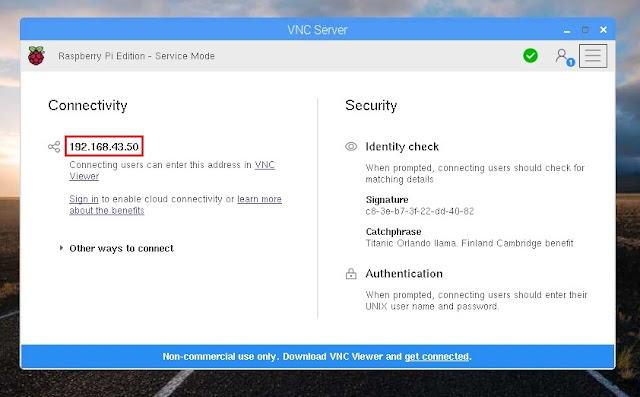
You need to know the IP address of your RPi to connect it to the VNC client in the laptop. Click the VNC Server to open and the IP address is shown.
Note: If you can’t or prefer not to disable it, here’s a trick to enter your password. Create a text file from your PC and type your password there. Save it to a flash drive and plug it into the RPi. Open the text file there and copy the password. Open Wi-Fi options from the menu bar and choose your Wi-Fi network. Paste the password in the field and click OK.


Voila!, you can finally see and control the RPi with just your laptop. You can now unplug the HDMI connection and leave the RPi connected to the power supply. You can also adjust your display settings by playing with the resolution settings in the RPi or VNC itself until it fits your need.
If you have other concerns, problems, or conflicts that just came up while setting, just leave a comment and I’ll be glad to help you further. Also, subscribe by filling your email address in the sidebar provided and submit so you can see more tutorials that will help you in future. Have a nice day!


You can set up a Raspberry Pi without a keyboard by enabling SSH and Wi-Fi in the boot SD card’s boot partition using a computer. mumble133 Add a blank file named ssh and a wpa_supplicant.conf file with your Wi-Fi details.
ReplyDeleteSetting up a Raspberry Pi without a keyboard is possible by using SSH to connect remotely from another device, allowing you to configure it easily. Simply enable SSH before booting and use an Ethernet cable or Wi-Fi to connect to the Pi. For efficient document scanning, try NAPS2, which offers an easy-to-use interface for organizing and saving scanned files.
ReplyDelete